One of my favorite things to sew is cloth baby books. They're always so cute, with bright, colorful pictures, and so easy to assemble that they're a very satisfying quick project. You can buy the panels online to sew, but that can be expensive; you might find them for a better price in a store, but my favorite way to buy them is when I find them at thrift stores and flea markets--the price is generally very cheap, and you're more likely to find something really unusual or old-fashioned. Of course, buying the fabric this way is a little more hit and miss, but that just adds to the joy of the discovery when I do come across one!
When my kids were little, every book panel I found I snatched up to sew for them; now that they're older, those baby books are packed up for the grandchildren I hope to one day have, but that still doesn't keep me from being able to resist picking up any new panels I come across to sew as baby shower presents or to sell at a craft fair, etc. I just can't help myself--they're too much fun to sew!
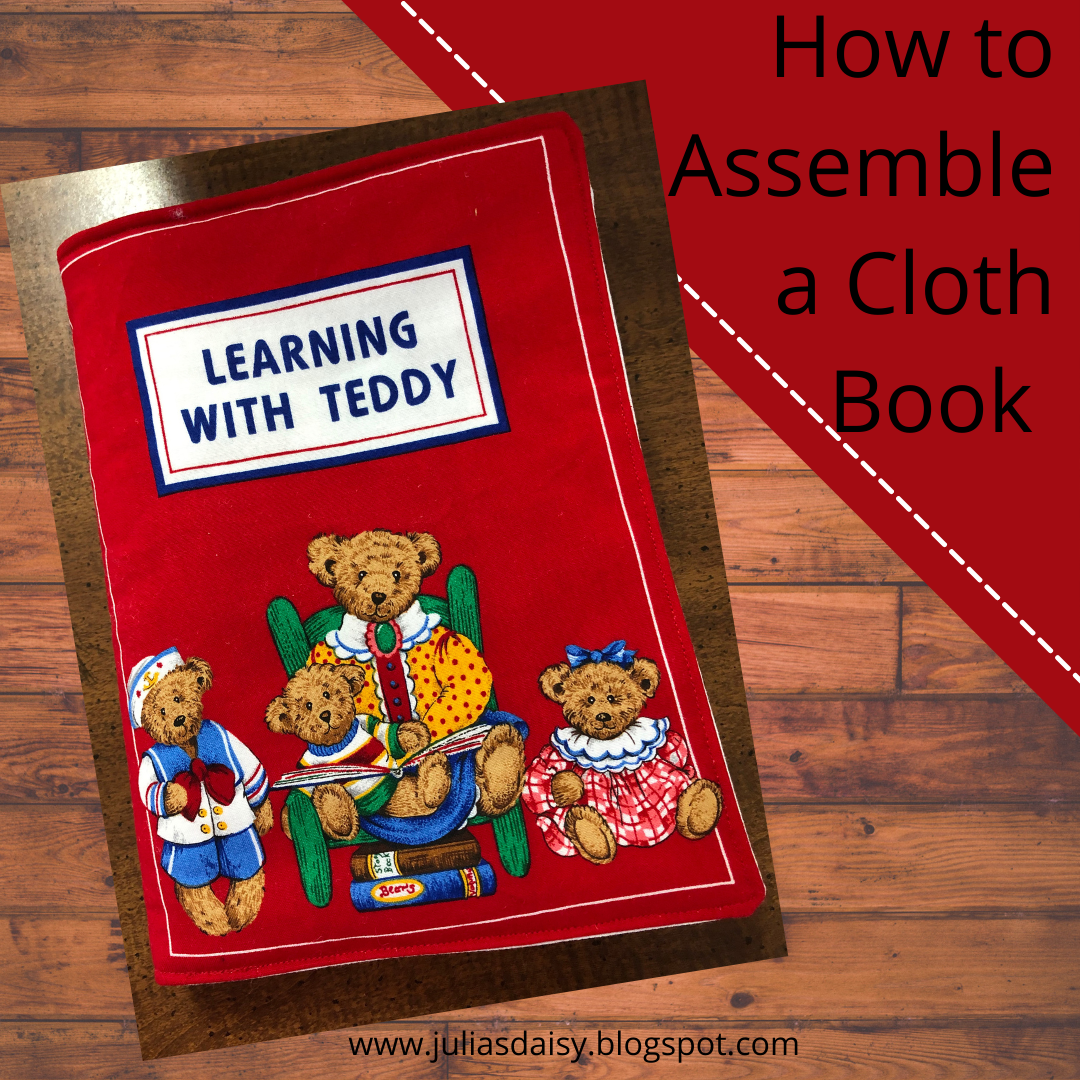
Usually when you buy these panels (especially if you buy them new), they come with instructions printed on one side of the fabric, telling you how to put the book together, but it's not infeasible that you could end up with a panel lacking these instructions. Sometimes also the instructions to any given sewing project can be a little difficult to understand, so I'm here to clear up all the confusion and walk you through the step-by-step of how to assemble a cloth baby book. Let's get started!
To make any cloth book, you'll need two things primarily: the fabric panel with the book pages printed on it and some low-loft quilting batting. It's also helpful to have a good pair of sewing scissors, plenty of straight pins, a sewing machine, and all-purpose thread in a coordinating color to the book you're making.
Start by washing and ironing your panel. I like to sew a zigzag stitch down the cut seams first on new fabric I'm planning on washing--this prevents it from unraveling in the laundry. Once your panel is clean and ironed, lay it out flat and cut the individual panels out. Notice how the pages on this panel all have rectangles around them? That's where you cut; following these lines will give you a nice seam allowance once you've sewn the book together.
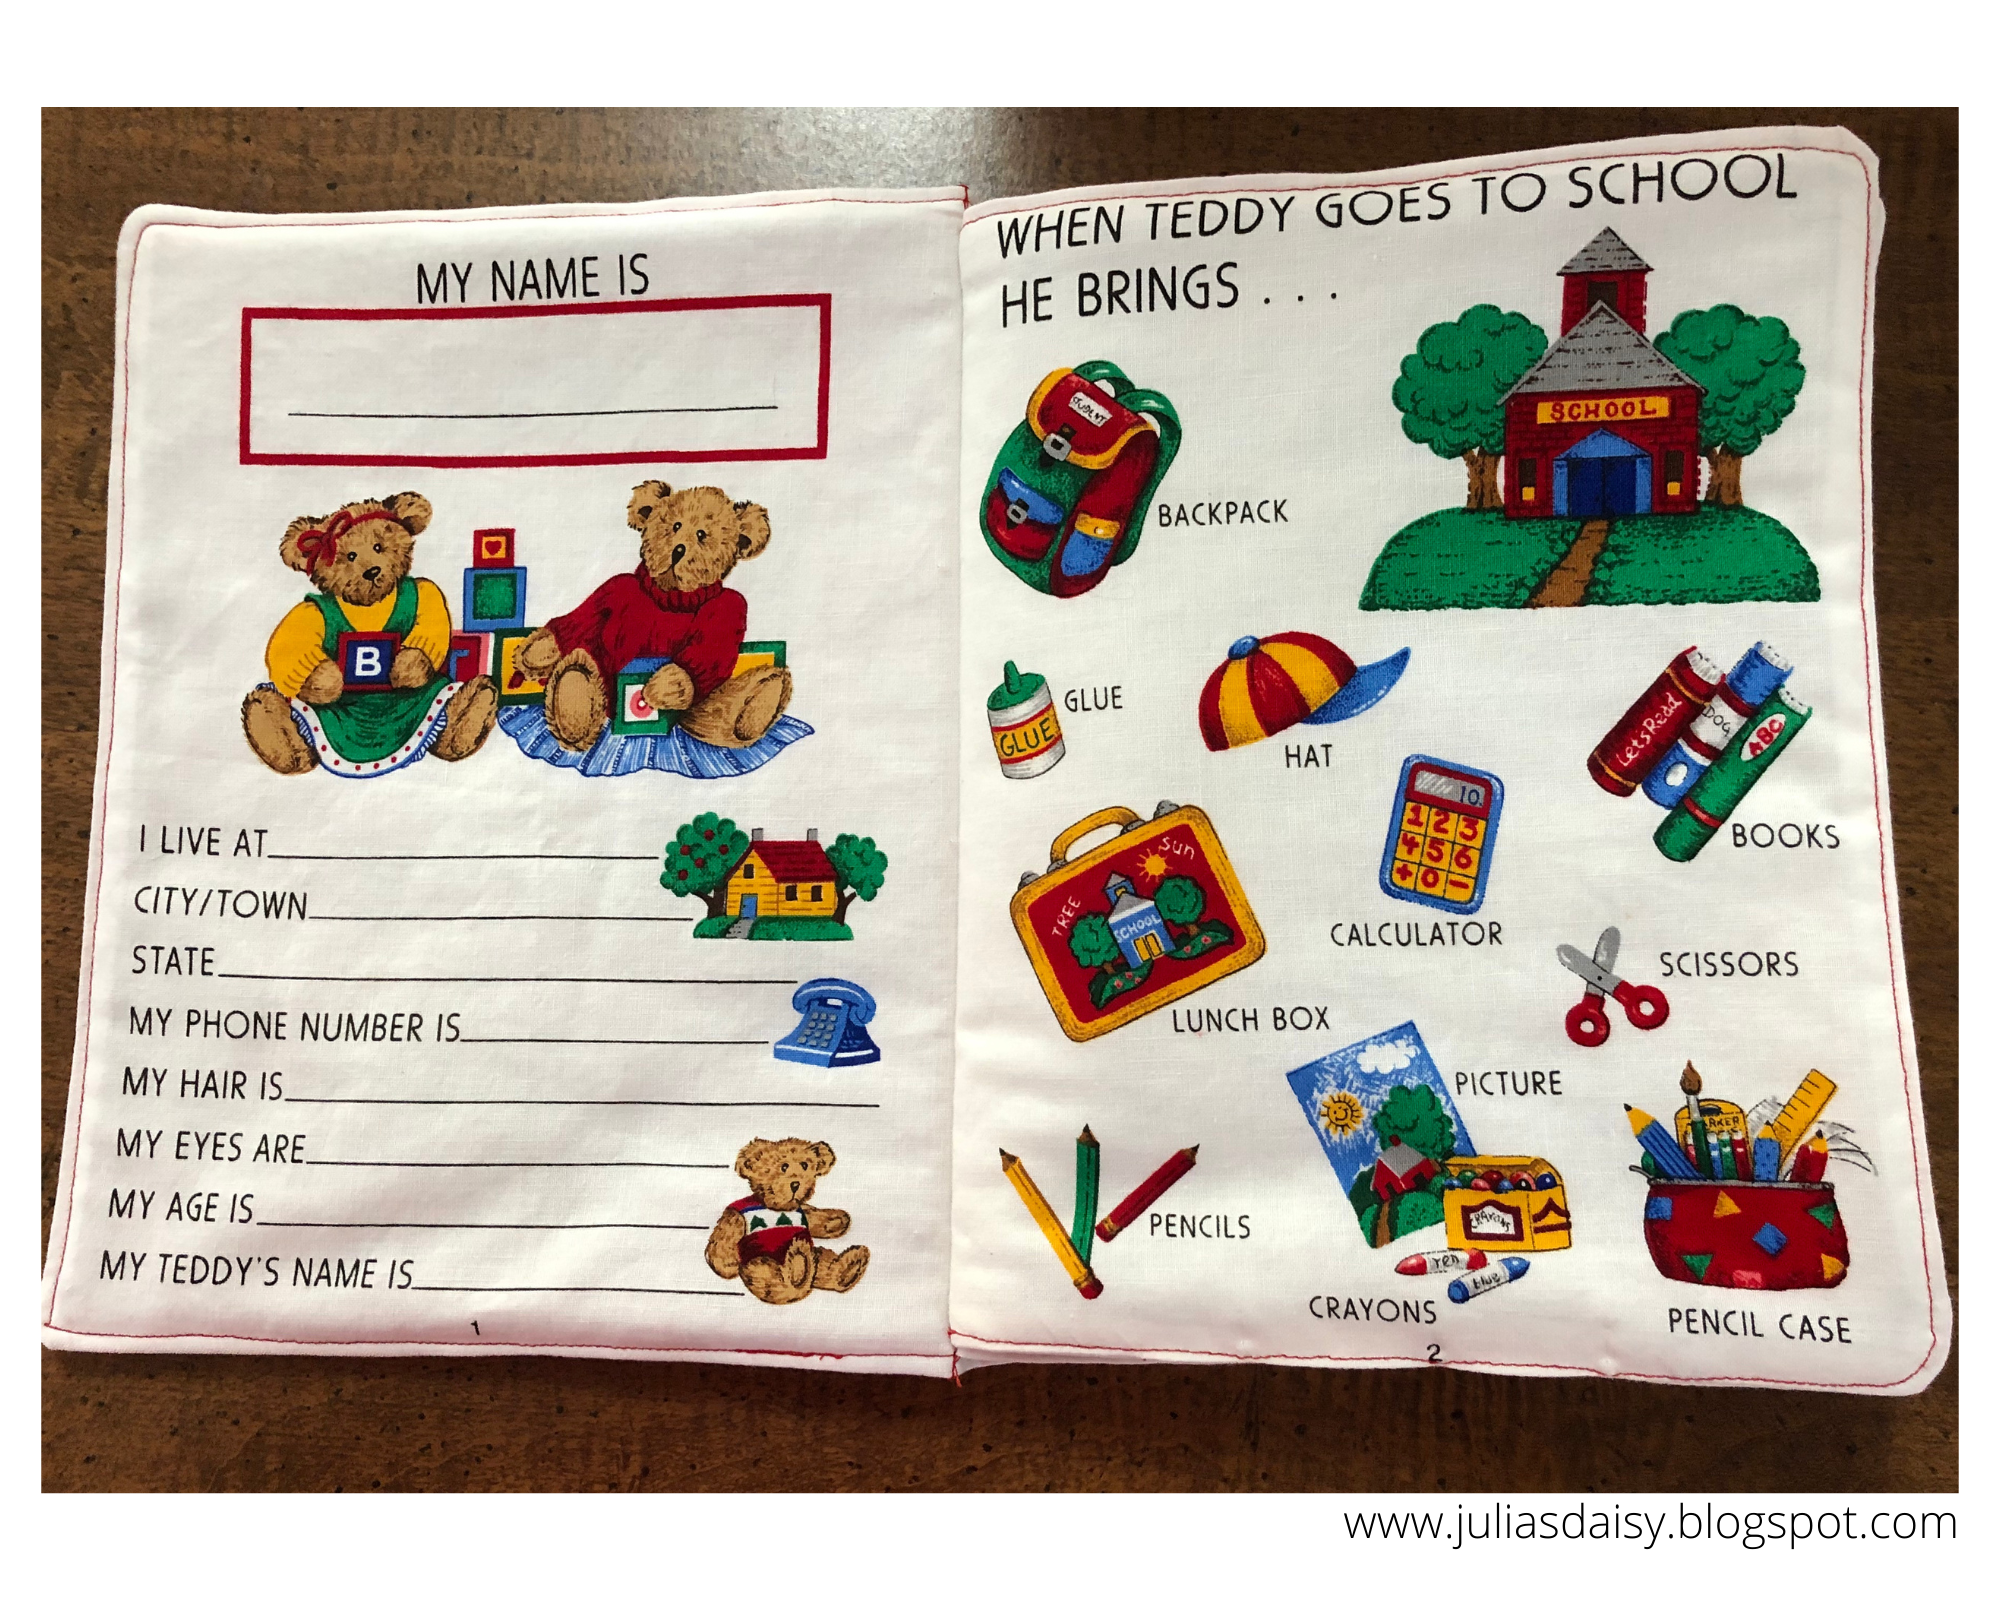
Once all the pages are cut out (you should have six), you need to pin them together in a certain order. You'll notice that at the bottom of each page are numbers; those are the page numbers for the book. You may also notice that the book cover and page 1/10 are slightly larger than the other pages; this is not true for every cloth book--I've seen some that were the same size as the other pages. It just depends on the particular pattern you're using, so don't worry if your pages are all the same size.
Pin your pages, right sides together, in this order:
Book cover---1/10
9/2---3/8
7/4---5/6
***Some cloth books have additional pieces that you need to sew together and attach to the book before joining the pages, like flaps or pop-out pieces; if your panel has these pieces, make sure you follow the manufacturer's instructions to attach them to the corresponding pages before you join your pages together!***
Now lay out your batting, pin your pages to the batting and cut out around each page. You are now ready to sew your book together!
All cloth books are sewn with a 1/4" seam allowance. Start at a point close to one corner on the bottom of the page and sew all the way around ending with enough space at the bottom to turn the page right side out when you're done. I like to sew back and forth on either side of this opening to reinforce my seam so it doesn't get pulled out when I'm turning the book right side out, but it's not necessary.
Before you turn it right side out, though, take a moment to clip the corners first. This will produce a much smoother corner that will look better in the long run.
Once your corners are clipped, turn the page right side out, smoothing out all the sides and corners, and then iron it all around the edge. This will make the page flatter (it can be rather poufy at this point) and easier to handle. Next, pin the opening at the bottom together.
You have a couple of options of how you can sew the bottom edge together. You can slipstitch it closed, making it appear seamless. You can also simply sew a straight seam on the outside of the seam joining them together, though this doesn't look quite as neat. I've done both in the past. This time, since I was using red thread that matched the cover for all of my sewing, I decided to try something different--I sewed all the way around each page very close to the edge, giving it a decorative finish and also sewing that opening closed. I rather like the finished product, don't you? 😊

Once all three individual pages are completed, stack them carefully in order, pin a straight line down the middle of the book, and sew all three pages together into a finished book. It can be helpful to use a ruler to ensure that the line is centered on the middle of the book, but, of course, this is optional. You can also mark your line with a chalk pencil if you really want it to be exact, but you'll need to wash it to get the chalk line out before it can be used. I usually just use pins and eyeball it! 😉
And there you have it--a finished book, guaranteed to bring joy and delight to a child for many years to come! And you didn't even need a printing press!
Happy sewing!


Comments
Post a Comment