Redoing The Girls' Room

accomplish that goal. The only time I am likely to rearrange a room is if the purpose or needs of that room have changed. Nowhere in our house remodel of last year was this more obvious than in the girls' room. Yes, we added on a 2nd bath and laundry room; yes, we completely revamped the kitchen (if you think about it, these changes reflected our changing needs as a family, too 😉), but the redo of the girls' room was just as big of a deal as those rooms were.
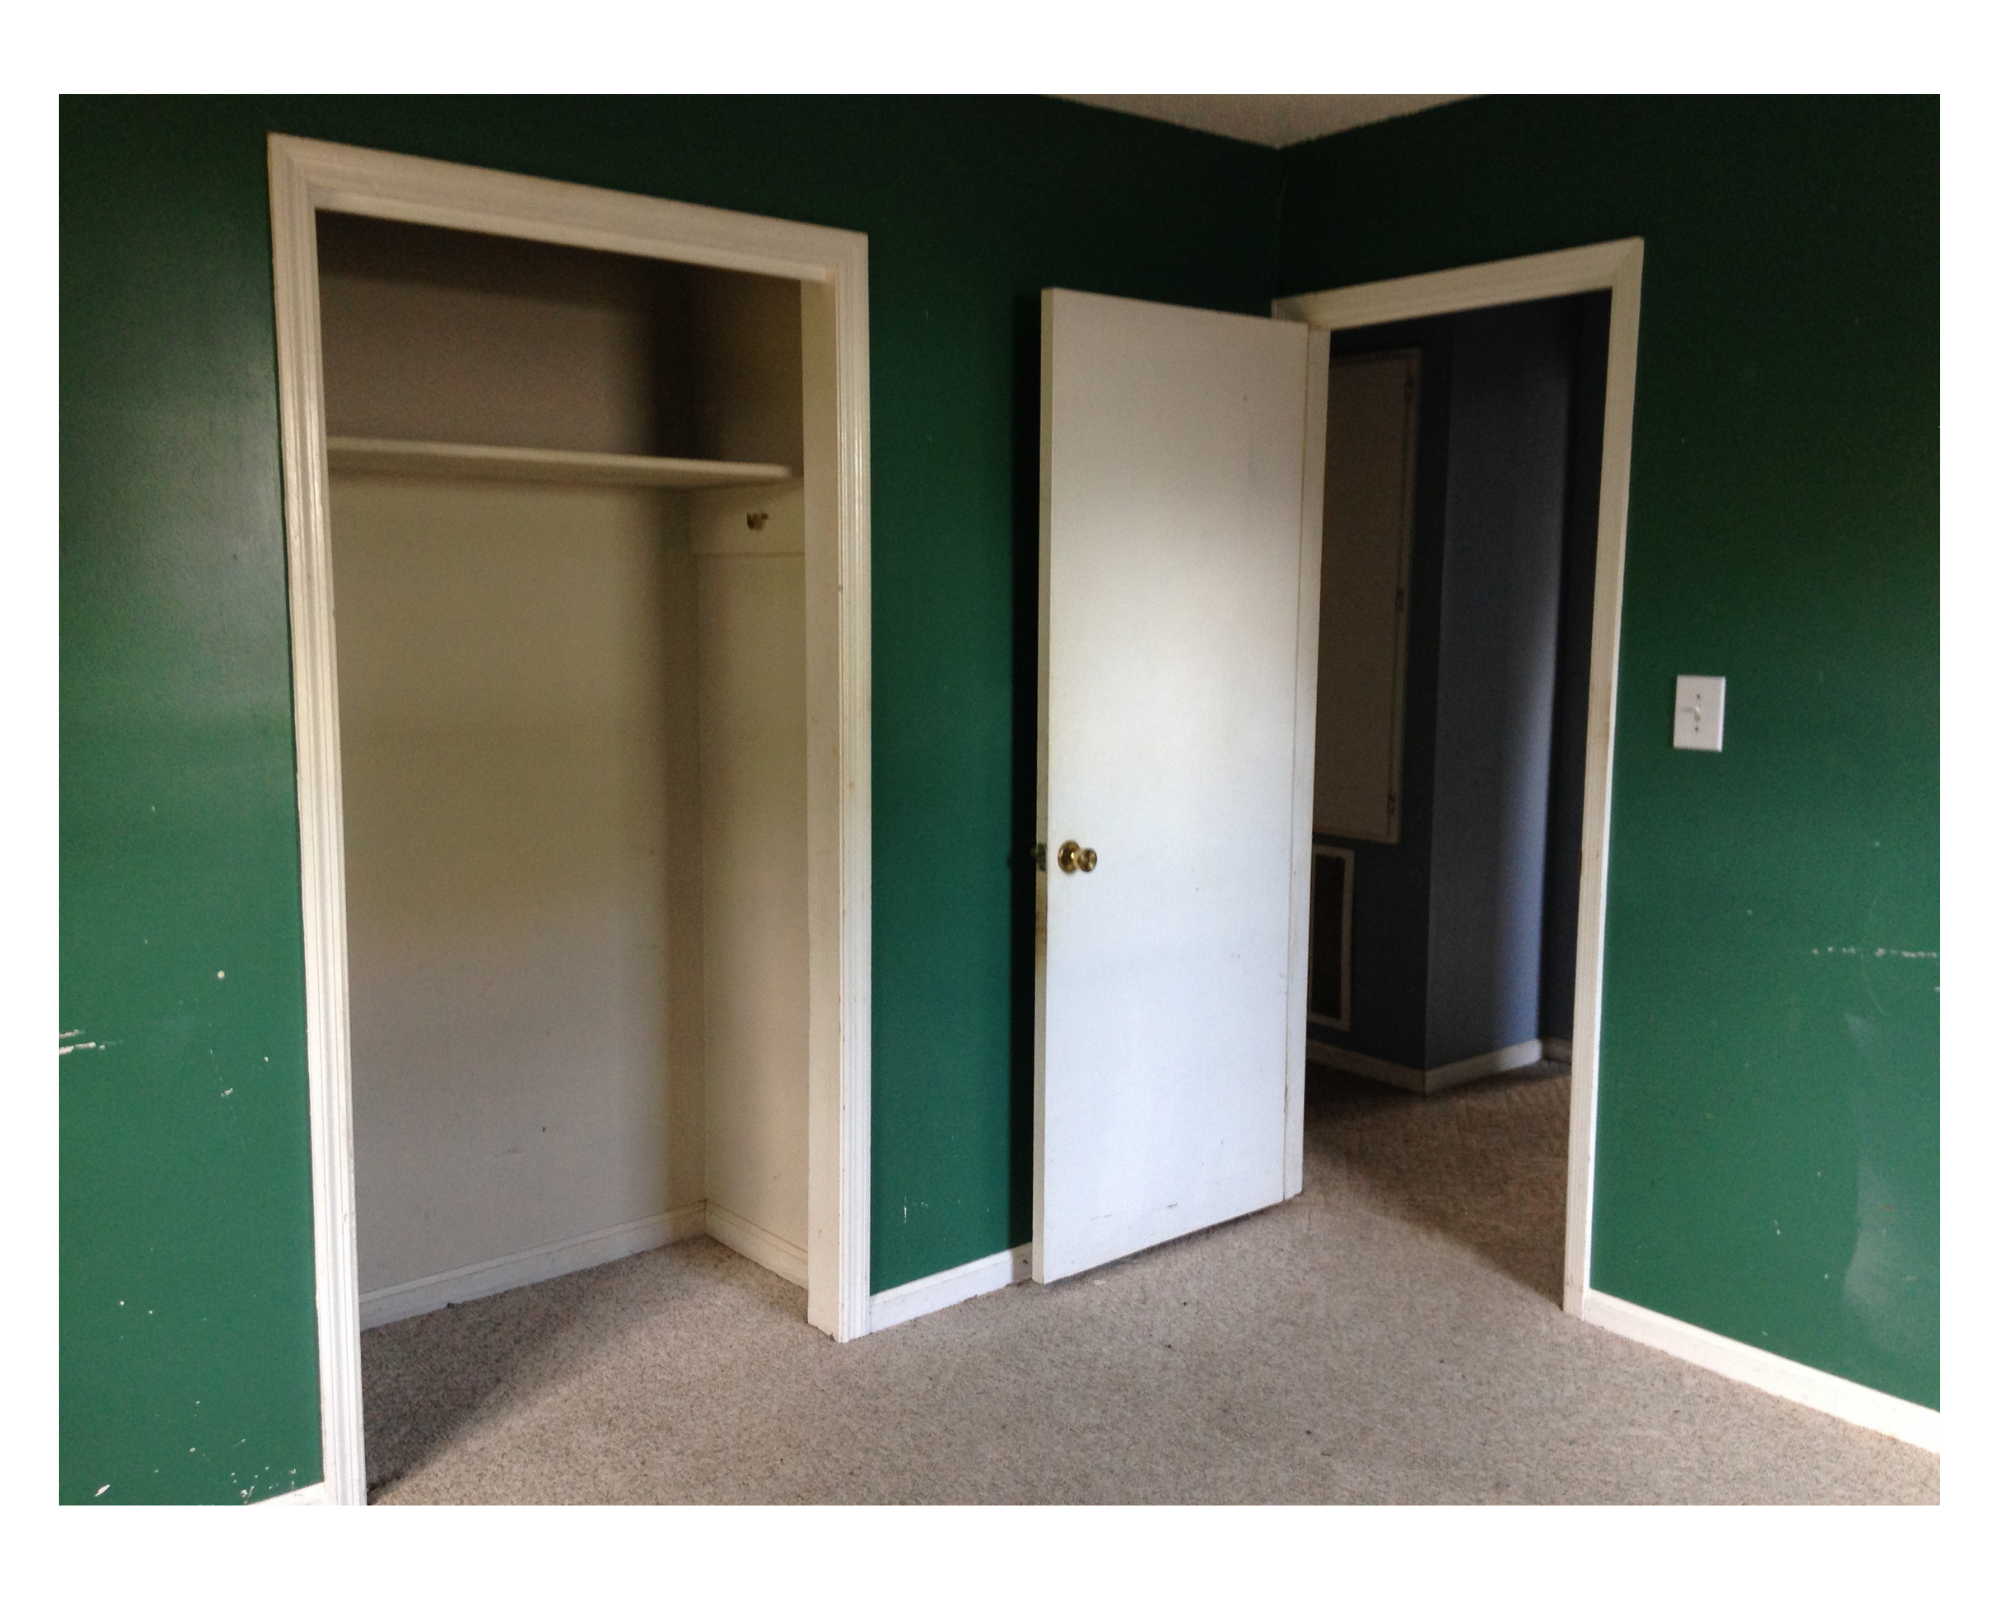
This fact was brought home to me when I was going through our pictures in preparation for this blog. When we first moved into our house 3 years ago, the room slated for the girls was painted a dark hunter green--alright for some people, but certainly not for two little girls, one of whom hates the color green!

So we painted the room a light gray like the rest of the house and decorated it with all their girly things.

What's worth noticing in this picture is that there were two beds--a toddler bed for Curly (who was 2 at the time) and a twin-size for Monkey--and only one dresser, since very little girls have clothes that don't take up a lot of room. The layout worked, but of course, as the girls grew, their clothes took up more space, and it was only a matter of time before Curly would grow into a regular size bed. It was obvious changes would have to be made in the near future.
Then the tree fell on our house, and everything had to be packed up to be put in storage, so the floors and walls could be fixed.

The damage to the girls' room was minor--one of their windows was broken and had to be replaced, some cracks in the drywall, some water on the floor--nothing that a good coat of plaster and then paint and new flooring couldn't fix.

But when it came time to move back in, we knew we weren't putting all their old furniture back in. It was time for an upgrade. 😊
We started with buying a brand new bunk bed for them to share. Because of the storage issues, we wanted the kind that had drawers in it someplace; we also felt that stairs would be safer for our perpetual climbers to get in and out of bed with--seriously, I'm just waiting for one of them to break something!--so we eventually found this beauty.

It's huge, but solid, and takes up less floor space than two beds and an extra dresser would, so we're happy with it. The girls love to hang blankets from the top bunk and make the bottom one a cave or fort!
Their old dresser just wasn't cutting it in the space--not enough storage for two growing girls--so we played some "musical furniture", giving them our dresser (which was bigger and still in good shape), and taking theirs and Tater's (matching family heirlooms) for our bedroom. Since Tater had also gotten a new bed (his old one had broken when we were packing up) with underbed storage, this worked out great. Now everyone has plenty of room for their clothes!

Another storage issue in the girls' room was their bookshelf and toy box. Both were small and overstuffed with their respective items. I purge the kids' things regularly, so it wasn't an issue of having too much stuff really; they just needed more adequate storage for their favorite things. We found this solid wooden cubby-style bookshelf with minor damage secondhand, brought it home, fixed it up and stained it to match the dresser, and voila--plenty of storage in one spot for all of their books, dolls and miscellaneous toys!


The only thing left to do was hang up their various pictures and decorations. The three over the bookshelf I painted before the girls were born. Most of their smaller posters I downloaded for free off the internet and just printed and laminated before attaching to the wall with thumbtacks. (I've tried sticky tack and 3M strips--neither work quite as well as thumbtacks, though I do hate the holes they leave behind. Good reason not to move the pictures until you have to! 😉)

A lot of the decorations in my kids' rooms are things I made for their birthday parties and then hung up in their rooms afterwards. A good example is this Disney princess garland; it's a free download on the Disney Movie Rewards website that I used for Curly's 3rd birthday party. It took quite a bit of time to cut out and put together, so you can bet I wasn't throwing it away once the party was over!

The tissue paper flowers in the far corner of the room are another example of this: my sister made them for Monkey's 4th birthday party, and they have hung over her bed ever since. We even left them up during the remodel because we just weren't sure how to store them without hurting them. You can see them in the remodeling picture above! 😁
Several years ago, I wanted to create a space for Monkey (my artist) to put her drawings and pictures, so I picked up a four-pack of corkboard from Walmart, painted two, and attached ribbon to the other two to display photos, etc. Jimmy screwed all four to a scrap piece of paneling he had lying around and then mounted it to the wall in her room. The board has moved with her, and provided a great space for displaying all of her favorite things over the years!

Finally, perhaps the most utilitarian "decoration" in the girls' room are these charts on their bedroom door. The morning routine charts I found on www.andnextcomesL.com--they are great for helping the kids stay on time as they are getting ready for the day; the cleanup chart I designed myself to help them tidy their rooms more easily. More on that next week!

So, that's it! The furniture may seem big in the small space, but it's actually pretty spacious in there for whatever the girls want to do, and they now have plenty of attractive, kid-friendly storage for all of their belongings. I call that a win-win!


Comments
Post a Comment