Sewing a Reversible Dress
Monkey loves wearing nightgowns, often preferring them over pajamas, and I've made her several dresses, so I figured it couldn't be too hard. But what got me really excited about the project was when I decided to make the nightgown reversible!
A few years ago she had a reversible dress that someone had handed down to her, and she loved it! I had studied the construction several times because I was so intrigued by the process, so I had a pretty good idea of how to go about it. You simply make two identical dresses and then join them together like you would a dress and lining, the only difference being that you also sew the bottoms together at the end. This'll make more sense when you see the pictures. So let's begin!
To start with, I didn't have a pattern for a nightgown; I simply took one of her current ones that still fit her, turned it inside out, and traced around the edges onto large sheets of typing paper (11x17), making a pattern. My lines were about an inch wider than the fabric of the nightgown because it was made of a stretchy knit, and I planned to use cotton fabric which doesn't have a lot of stretch in it at all.
You have to think about this kind of thing when you are making your own pattern for something: the kind of fabric you're planning to use can make a BIG impact on the fit of your finished garment. Drawing the pattern wider and bigger than the old nightgown ensured that the new one would fit her when it was done.
Once all my patterns were made (and yes, I had to tape some paper together to get the necessary length for the nightgown), I was ready to cut out my fabric. For this nightgown, I had chosen two (Monkey-approved) cotton prints that would be lightweight and soft--Monkey is hot-natured and can't stand itchy fabric--comfort is key in sleepwear!
Now it's time to sew! 😊
Assembling the two dresses was simplicity itself--since it was gonna be sleeveless, I merely ran a seam up the sides and across the shoulders. Voila! Two dress forms done!
Now for the tricky part. I placed one dress inside the other, right sides together, and sewed them together at the top around the neck, just like I would the lining of a dress.
Next, I turned them right side out, so that the two dresses were actually one inside the other, ironed the seam, and then top-stitched around the neck. That means that I sewed a straight seam very close to the edge around the neck of the garment, which produces a neat, finished look.
Now it was time to join the armholes together. I folded each armhole (all four of them) in about a 1/4" and pinned the inside and outside together before topstitching around each armhole. Now the dress was completely joined together at the top.
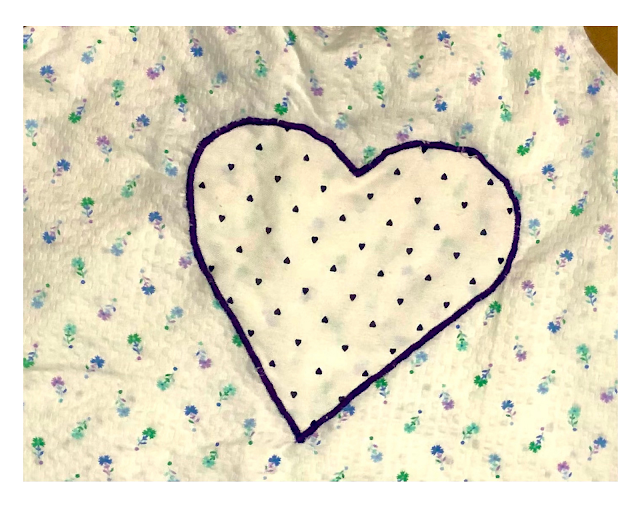
It was at this point that I decided that I wanted to sew an applique to each side of the dress, so I had some finagling to do to sew on the appliques to each side without actually sewing the inside and outside together.
If you decide to do this step, I highly recommend doing it before you sew the two dresses together--it is so much easier!!! But that's what I get for not thinking the finished product through well enough!
Also, if you don't know how to do an applique, check out my blog on Appliqued Pumpkin Placemats; I give a step-by-step explanation there.
Up to this point, every step (other than the applique) exactly follows what you would do to insert a lining into a dress (so if you were wondering how to do that, there you are!); this last step is what makes this nightgown (or dress) reversible. And it's surprisingly easy.
Fold under the edges of your bottom seam on both dresses, pin them together, and--you guessed it!--topstitch around the bottom.
Now your dress (or nightgown) is reversible! So much fun!
Monkey couldn't wait to try hers on and proudly modeled the finished product for me!
I have a feeling I'll be making more of these in the future! 😉 Happy sewing!


Comments
Post a Comment